Online courses are all the rage, and rightly so.
They are one viable way of producing passive income for entrepreneurs who have expertise to share. You may have already been sharing your knowledge, but possibly in a live classroom situation or coaching program.
While in-person and online teaching have significant differences, both methods rely on good communication, preparation, and management skills to deliver an effective and rewarding learning experience.
A major disadvantage to online learning is that there's no teacher physically present to ensure a student stays on task. If you hope that students will purchase further courses, you should consider how to keep them motivated to complete the course in a timely manner.
The key is to create a dynamic and interactive learning environment that encourages active participation and fosters a sense of community and accountability.
This can be achieved by interacting with students via chat or forums, offering virtual office hours, using badges to reward and setting deadlines.
Overall, a successful online course is well organised with clear goal posts for the student. By combining the preparedness structure of an in-person class with some online engagement strategies, you'll be able to create a profitable course.
To help you create your first online course, we’ve come up with a simple 3-step solution.
Step 1 : PLAN
Spontaneity might be a good practice in some instances - a spontaneous facebook live, periscope or quickie podcast that creates a spark within your tribe can be a delicious shot in the arm for you and your followers. But creating an online course is not one of those times. This is one of these cases where the more time and energy is spent at this stage, the easier it’s going to be later on.
Consider your Audience
Whatever it is you have expertise in, you will want to be careful to share the right material to the right audience. What level are you at vs your target market? If you’re a professional baker and you’re teaching cake decorating, where do you start? Does your audience know how to bake a cake? Do they have any experience with decorating materials?
You may want to create a a guideline such as: “This course is for you if:” and detail what level and circumstance you feel your students should be at to get the most out of the course.
Write your Instructions
You may be tempted to start at the beginning, but our suggestion is to start at the end. What is the outcome you expect for your students? What will they learn, know how to do, or how will they feel at the end? Then you can go back to step 1 and go through the steps of how to get there.
Structure your Course
Once you’ve done that, you can think about how to organize it all. How will you structure your classes, modules, lessons and what will you call them? If you get that sorted, you can then prepare a curriculum for your students. Now you’re making progress, yay!
Step 2: CREATE
At this point you’re going to need to start thinking about the tools you will use to create the actual lessons.
You might want to go with the same tools for all the classes, or you might want to mix it up. It’s totally up to you and what you think your audience will respond to.
The Power of Writing
Will you use written posts or articles with images? If your primary tool is the written word, you may want to create blog-style articles. You could write them out in a word processing program or text editor for later inserting into an online blog platform. Or you could create them as finished PDF files that your students can read online or download. Or you could use a combination of both - an article with accompanying PDF files for workbooks, homework assignments, checklists etc.
Hearing is Believing
Audio is another great medium to getting information across, and there are lots of podcasting sites where you can create your audios and embed them into a website, or simply allow students to access the platform online, and link to it from your website and social media sites.
Seeing is Learning
Video for most online trainers is of course a big favorite. It’s personal, immediate and allows you to show what you’re teaching. For video, you’ll need a camera (yes, your phone will do when starting out, especially with a tripod), microphone and video editing software. Videos can be live action with you talking into the camera and/or demonstrating your lessons. They can also be screencasts, which are perfect for tutorials, for example, on how to use a piece of software.
Step 3: DELIVER
Now the really fun part! The delivery mechanism may seem the most daunting, and does involve the “tech” part, but it doesn’t have to be a chore. Let’s look at 3 scenarios that are easy to implement online for delivery of your course:
To Drip or Not to Drip
If your course is fairly structured, you might want to set up your lessons so that students see them in a particular order. On the SubHub platform, the Drip feature does this for you. You simply create a membership plan for your course, and then assign each piece of material a number of days or weeks to be delivered after sign-up. Let’s say Sally Bean has signed up for the cake decorating class. You might want her to see an introductory lesson and a materials lesson right after she signs up. Then the icing lesson on day 2, the fondant lesson on day 3 or 5…you get the idea. The SubHub Drip feature also sends out notifications to your students to let them know new content is available.
But if you’re creating your first course and you don’t mind if your students see the entire curriculum at once, you can do that too.
Mail it Out
If you aren’t using any particular web platform, you could simply create your lessons and send them out via Mailchimp or another autoresponder program. This works very well for free courses. If you’re offering paid courses (which is kind of the whole idea, after all), this may not be ideal as it can be fairly easy for your students to share the material they receive in an email. If you want to keep your lessons behind a paywall, it’s best to use a web platform like SubHub. Incidentally, SubHub has an integration with Mailchimp, so you could have the best of both worlds in that case.
Live Webinars
Platforms like Zoom, Webinar Jam and many others are available to you for creating live lessons. These lessons in most cases can also be recorded. A couple of things you can do to monetize this:
1. Have a registration page on your website where students need to sign up and/or pay for the live lesson.
2. Provide the live lesson for free, then add the recording to your website course and charge for the recording.
3. Still another possibility would be to record your live session and sell it as a Pay Per View offering on your website. (This is also easy to do using SubHub’s platform.)
Well there you have it. The 3-step system to creating your first (or second or third) online course.
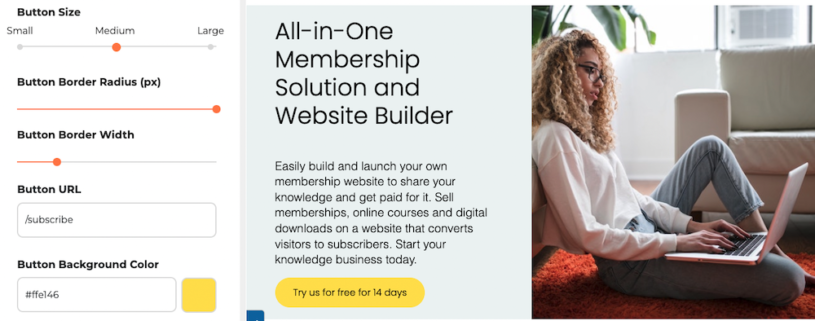
If you’d like to try it out now, just open a free trial at SubHub and see what you can create. Our support team is always available to help.
Happy teaching!